Tapestry Weaving for Beginners: You're Not Weaving Cloth, You're Painting
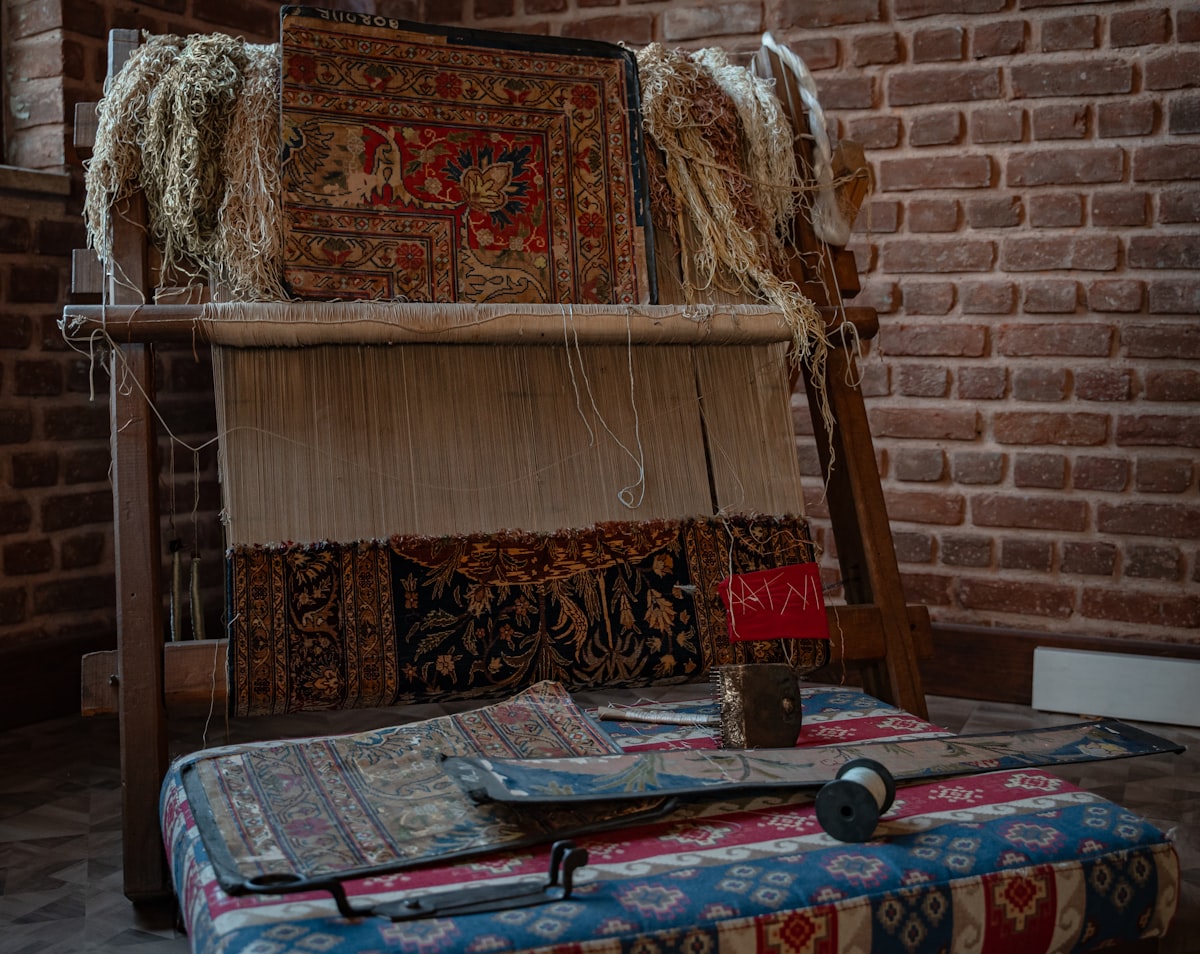
The first thing to understand about tapestry is that you're not making cloth. Or rather: you are making cloth, technically, in the sense that you have warp threads and weft threads interlacing — but the finished piece doesn't look or behave like cloth. The warp disappears entirely. You can't see it. What you see is the weft, packed down so tightly that the warp is hidden inside, and because each section of weft can be a different color, you can build up any image you want, one horizontal band at a time.
That's the shift that makes tapestry feel different from rigid heddle weaving or frame loom weaving. In those, you're thinking about structure: how do the threads interlock, what's the sett, what's the finished drape. In tapestry, you're thinking about image. The technical side is actually quite simple — over one, under one, all the way across, beat down, repeat — and that simplicity is what frees you to think entirely about color and shape.
What You Actually Need
A frame loom is the classic starting point, and it can be as simple as a wooden picture frame with nails or notches at the top and bottom for the warp. You can also buy dedicated tapestry frames at various sizes. A small frame, roughly 20×30 cm, is a good starting size: big enough to do something interesting, small enough that you'll actually finish it.
For warp, you want something strong and not stretchy — cotton string, linen, or a heavy cotton yarn. The warp is under tension the whole time and takes a lot of stress, so wool or loosely spun yarn isn't ideal here.
For weft, this is where you get to have all the fun. Tapestry is traditionally woven in wool, and wool is genuinely great for it: the fibers grip each other, the weft packs down nicely, and the finished surface has a warmth and depth that's hard to get with other fibers. But you can use almost anything — cotton, silk, fabric strips, roving. Starting with a small selection of wool yarns in the colors you want to work with is the most direct route.
You'll need something to weave with — a stick shuttle or a tapestry bobbin, or you can simply wind small amounts of yarn into butterflies (a figure-eight around your thumb and fingers) and use those directly.
Modernhaus follows the thread from raw fiber to finished fabric.
Explore the Textile Studio →The Warp
Warping a frame loom is easy. Tie your warp thread to the first nail or notch, bring it down to the corresponding notch at the bottom, loop around, bring it back up to the next notch, and continue until you've filled the frame. Keep the tension even but not brutally tight — you want the warp to have a little give.
The sett (how many warp threads per inch) matters less in tapestry than in other weaving because you're covering the warp completely anyway. A typical starting sett is 6–8 warp ends per inch (about 2–3 per centimetre), which is open enough to pack in plenty of weft without the loom becoming hard to work.
Weaving and Color
This is where tapestry diverges from everything else. Instead of weaving a single weft across the full width in each pass, you use multiple wefts, each a different color, and weave them in separate sections. Each color has its own butterfly or bobbin, and you work them back and forth within their own area of the warp.
The catch is the joins. Where two color areas meet, you need to handle the boundary somehow. The main options are:
A slit leaves a small gap in the weave where the colors meet. It's the classic tapestry join and produces a clean, graphic edge. Too many long vertical slits and the fabric gets structurally weak, but short slits are fine and very common in Kilim and Navajo work.
Interlocking links the two wefts at the boundary — one color loops around the other before turning back. No gap, softer edge.
Dovetailing alternates both wefts around a shared warp thread, creating a slightly serrated boundary that softens color transitions.
For your first piece, slits for short vertical lines and dovetailing for longer ones is a good practical approach.
Beating Down
After each pass of weft, you beat it down with a tapestry comb or your fingers so the warp is covered. This is the motion that makes tapestry tapestry: the weft packing against the previous row, the warp disappearing. Beat firmly and evenly, and check that no warp threads are peeping through.
One of the most common beginner mistakes is uneven tension at the edges — the sides pull in as you weave because the weft is going too straight across. Give the weft a slight arc as you lay it in (called bubbling) before you beat, so there's a little extra length to accommodate the over-under path through the warp. This keeps the edges straight.
What to Make First
A small geometric piece — stripes, triangles, a simple diagonal — is ideal for getting the mechanics comfortable before adding complex shapes. Ikat weaving traditions and Navajo tapestry both use bold, high-contrast geometric patterns that are genuinely achievable for beginners and look terrific even at small scale.
What's satisfying about tapestry, and what keeps people at it, is that the image builds in front of you. Unlike weaving cloth where the finished fabric often looks much the same in process as at the end, tapestry changes with every row. You can see the picture growing. At some point in the process it tips from looking like a bunch of weft threads into looking like the thing you're making, and that moment is genuinely great.