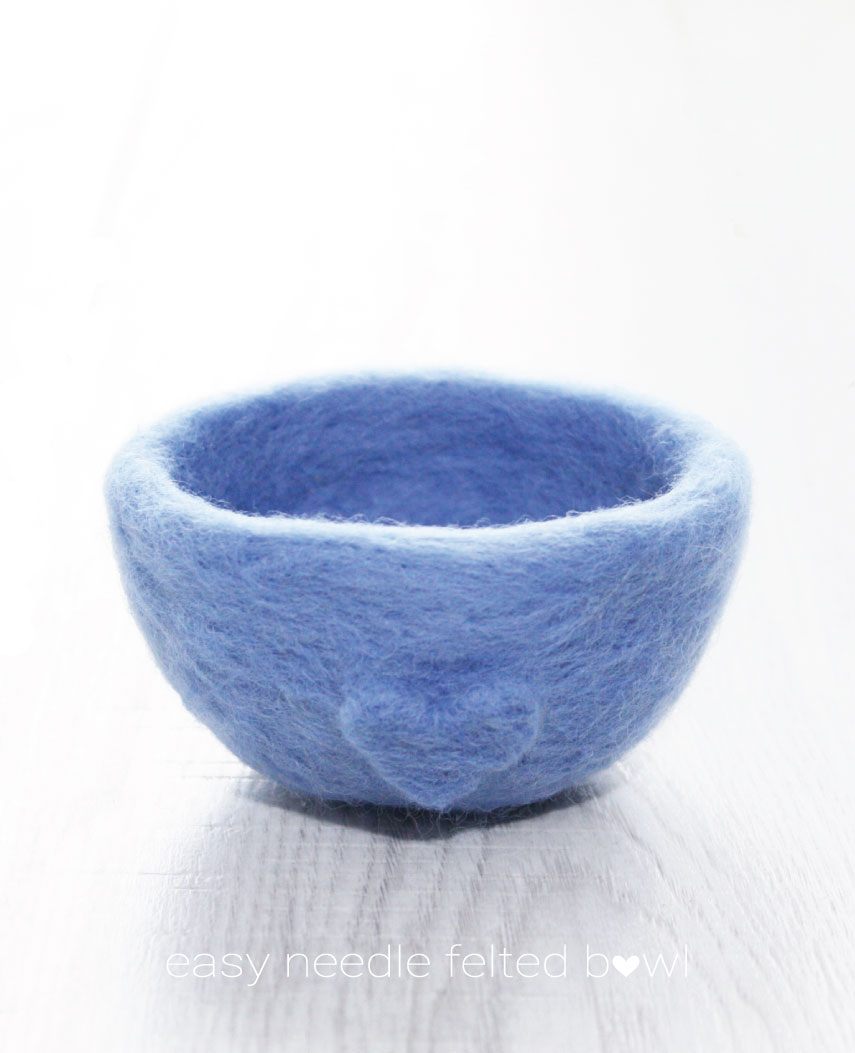
Needle Felting for Beginners: Easy Sweet Felted Bowl
Skill level: Complete Beginner
Needle Felting a Simple Bowl
Cost:
Around $20 – $25.
Time:
Approximately 2 hours from start to finish
Needle felting (or dry felting as it's sometimes known) is simply the process of tangling together loose fibers of wool roving with a barbed needle. By poking the fibers multiple times, they compact into a dense material that has structure and form.
The possibilities with this technique amaze me - people create intricate miniature animals, jewelry, toys, and home accessories.
Like any craft, my needle felting skills developed with practice. This sweet little bowl was one of my first successful projects and served as my introduction to the technique. Here's exactly how I made it.
Notes:
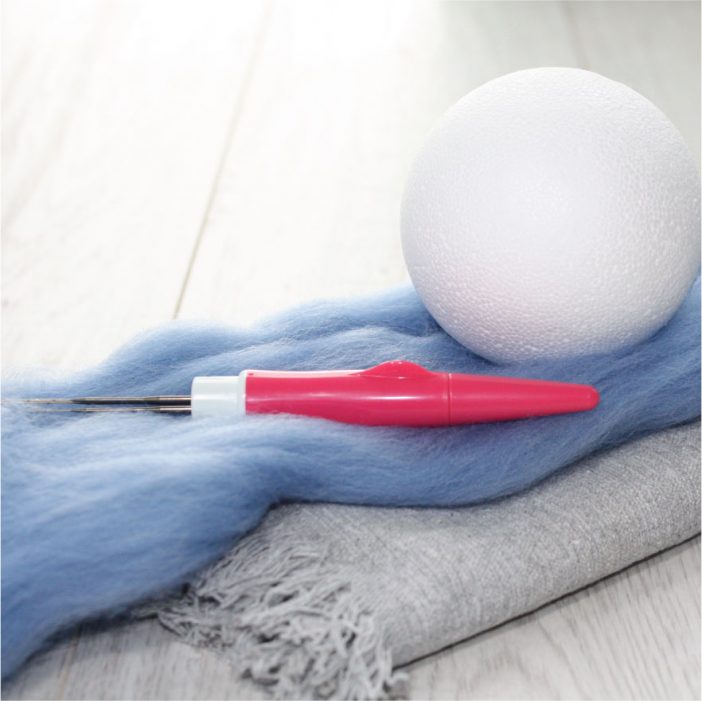
For this project, I used a needle felting pen that came installed with 3, size 38 needles. It's become my go-to tool for numerous different projects. The pen sped up my felting process since working with three needles was faster than one.
When I needed to work on finer details or define shapes, I simply removed one needle and worked with just two. I used 3 needles for the main bowl and 2 for the heart detail.
While I eventually invested in a good felting mat, I started with just a thick folded towel to save money while trying out the hobby.
Materials I Used:
Clover pen style needle felting tool
Step 1: Preparing the Roving
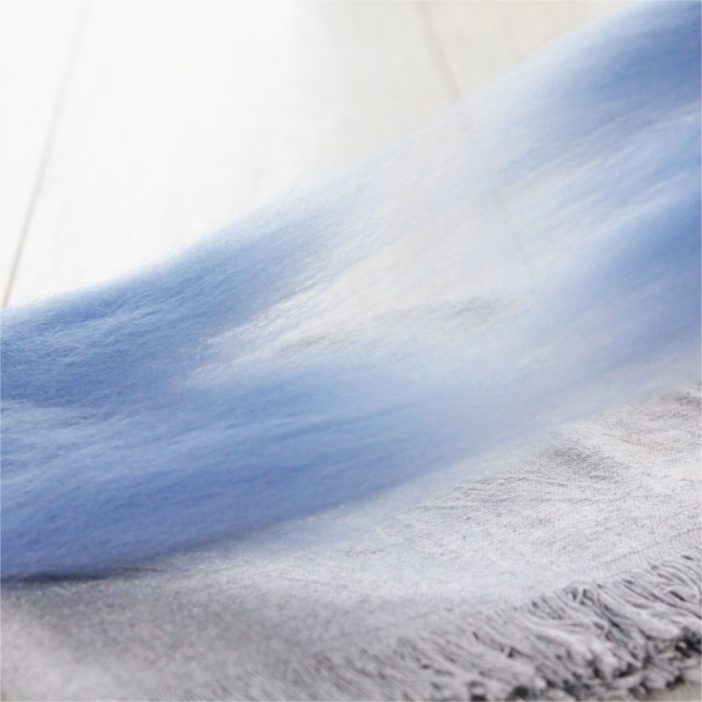
I pulled around 1/4 of my wool roving away from the rest and set it aside for later.
Step 2: Forming the Bowl Shape
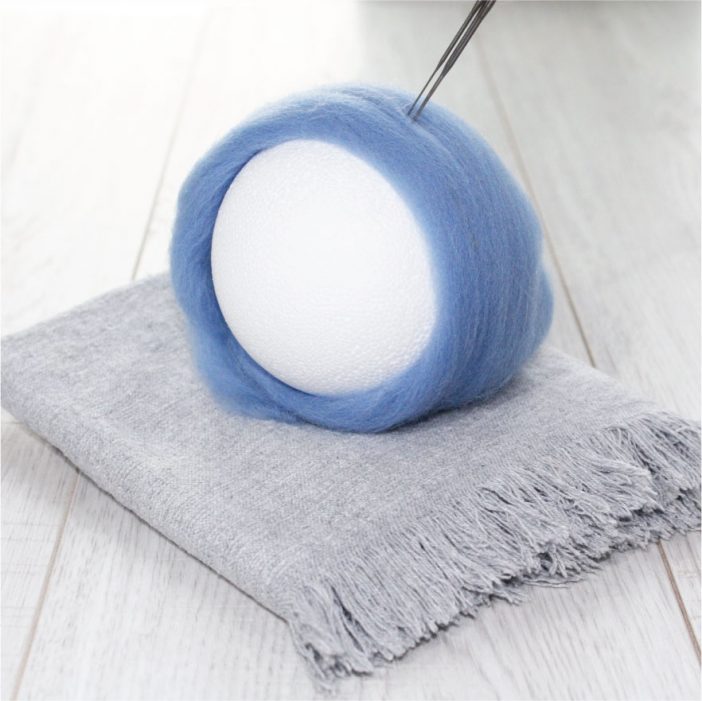
I wrapped the larger piece around the ball as neatly as I could. This made the roving much easier to work with during the felting process. I didn't worry about thin spots since I knew I could add more roving over the top later.
I tore away any excess wool and set it aside. Image 2 above shows roughly what mine looked like at this stage.
Step 3: Starting the Needle Felting
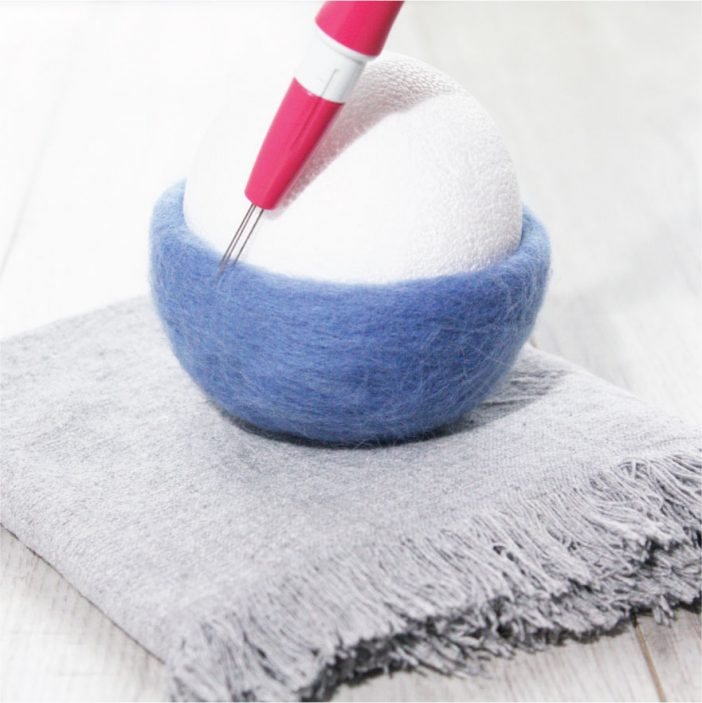
I poked the roving all over with my felting needle, working in small sections at a time.
The trick I learned was not to stick the needle in so far that it stabbed the ball, or my bowl would be difficult to remove later.
Working at different angles so that my needle only went into the wool each time worked best. I had to be gentle and careful not to poke my fingers - learned that one the hard way!
As I continued to poke, I noticed the roving starting to felt. I made sure to felt well around the rim of the bowl too (shown in image 3).
For any thinner areas, I simply added a layer of roving over the top and felted it to blend in.
Step 4: Needle Felting Inside the Bowl
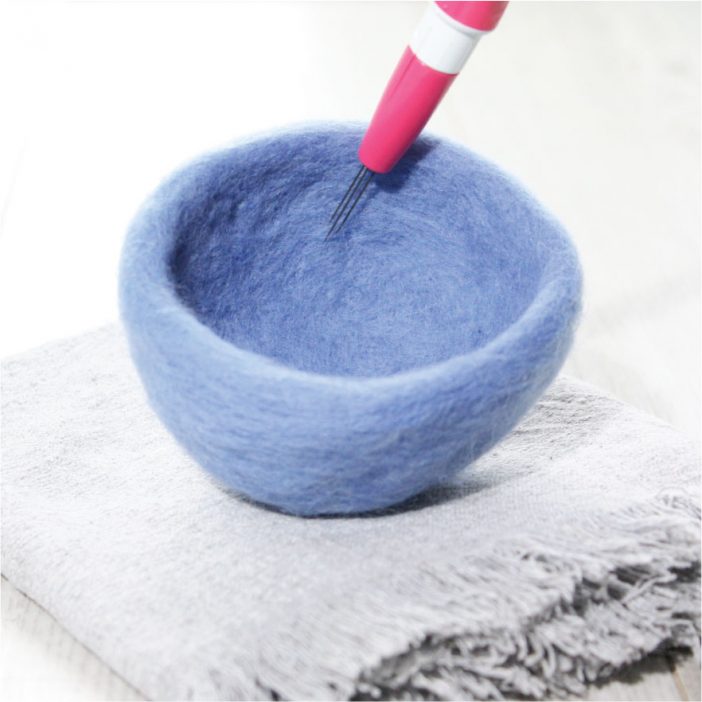
After about an hour, my bowl started to look properly felted.
I carefully removed the ball at this point. It came away quite easily. I picked out any bits it left behind inside my bowl.
Next, I repeated the felting process for the inside of the bowl.
I worked over a thick folded towel (though I later got a felting mat) and didn't poke too hard. I learned my needles should only go in as far as the felt itself - if they hit something they could break or damage whatever they stabbed into.
Step 5: Making the Heart Shape
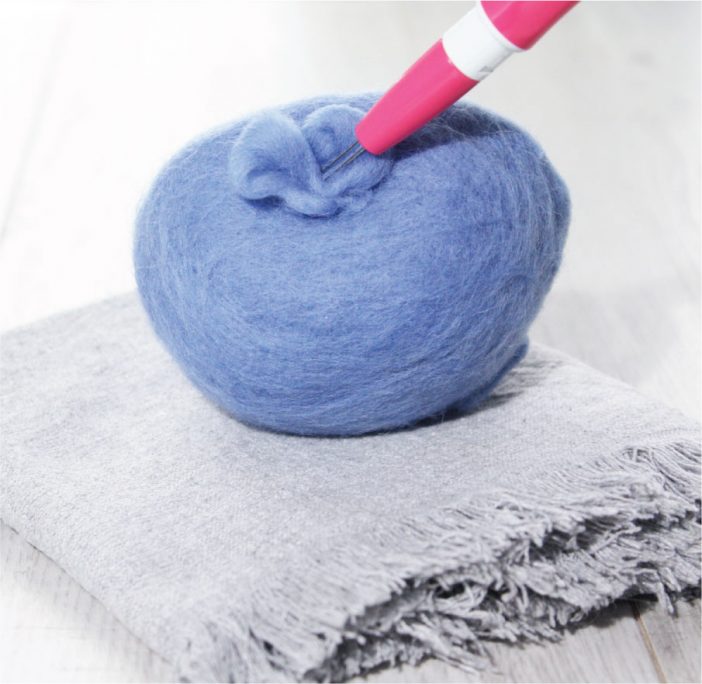
Now came the fun part - adding the heart. This was great practice with something more detailed. I knew I could always pull the heart away if it didn't look right and have another go.
For the heart shape, I first made a couple of loops with a little spare roving. I tucked the excess up and behind the loops to make a very rough heart shape. You can see what I mean in image 5 above.
With just two needles, I started to poke around the shape until it stuck to the bowl, then shaped it by poking around the edges to fix it and add definition.
Step 6: The Finishing Touches
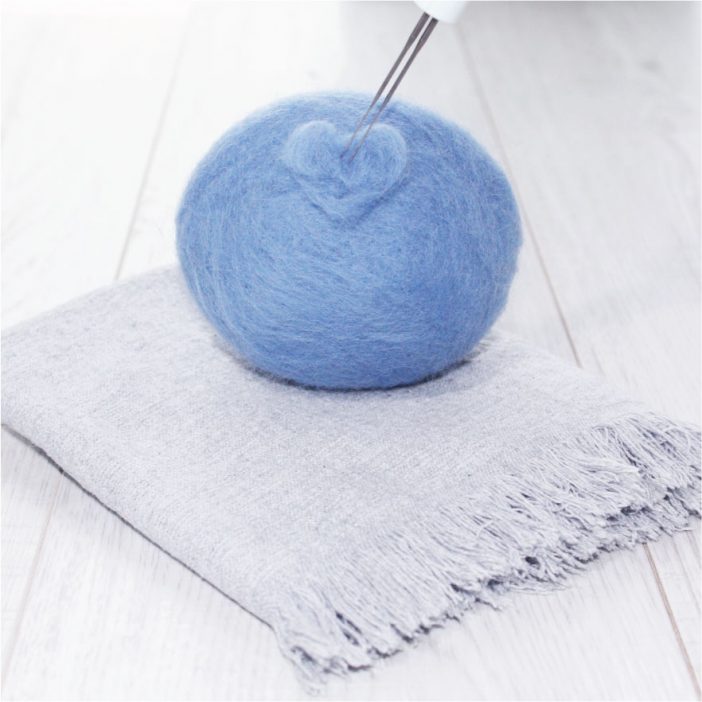
Mine looked a little lopsided at first, so I took some fine wisps of roving to build the shape up and even it out. When it was felted to the same texture as my bowl, I was done.
And there it was! My first needle felted bowl - a practice piece I could actually be proud of. Like many detailed crafts, needle felting is much easier with good lighting to see the texture developing.
If you follow this process and make a bowl of your own, I'd love to hear how it went. Please leave a comment, or better still, send me a pic and I'll post it here.
![[alt]](/wp-content/uploads/2016/11/Blue-Hearts-1.jpg)