Workshop
The Clay Studio
Understanding ceramics from earth to kiln: hand building without firing, wheel throwing fundamentals, and the transformation clay undergoes from plastic material to permanent form.
Mid-Century Modern & Clay Work
Mid-century ceramic artists transformed clay from decorative craft into serious design. Russel Wright's American Modern dinnerware brought modern aesthetics to everyday tables in millions of homes. Eva Zeisel's organic forms demonstrated that functional pottery could be sculptural. Peter Voulkos broke ceramic traditions entirely, treating clay as an expressive medium equal to any fine art material.
These makers understood clay's unique properties. The material's plasticity when wet, its structural changes during drying, the permanent transformation that occurs in fire. They worked with these characteristics rather than fighting them. Voulkos embraced clay's tendency to tear and sag. Wright designed forms that suited mass production slip casting. Zeisel shaped pieces that honored the throwing process while pushing its boundaries.
Clay work teaches patience through transformation. Wet clay becomes leather hard becomes bone dry becomes bisque becomes glazed becomes fired. Each stage has different possibilities and limitations. You can't skip steps or rush drying without cracking. The kiln doesn't care about your schedule. These constraints teach respect for material requirements and process timing. Making functional pottery means understanding and working within these transformations.
Russel Wright
American Modern dinnerware, democratic design
Eva Zeisel
Organic forms, sculptural function
Peter Voulkos
Abstract expressionist ceramics
Gertrud and Otto Natzler
Refined throwing, experimental glazes
Air Dry Clay: Immediate Results
Air dry clay provides entry to three-dimensional clay work without firing requirements. These polymer-based clays cure through evaporation over 24-72 hours, creating finished pieces ready for painting and sealing. The material suits decorative objects, ornaments, and sculptural work but lacks the strength and water resistance of fired ceramics.
Understanding Air Dry Clay Types
Paper-based air dry clays contain cellulose fibers that reduce weight and improve workability. These clays feel lighter and smoother than traditional clay, making them easier for detailed work and suitable for larger pieces that need to remain lightweight. They dry to a slightly porous surface that accepts paint readily but requires sealing for any moisture resistance.
Resin-based air dry clays cure harder and smoother than paper-based varieties. They more closely approximate the working characteristics of traditional pottery clay while still drying without firing. These clays work well for pieces requiring some durability, though they'll never match fired ceramic strength.
Working with Air Dry Clay
Air dry clay dries from the outside in, creating potential stress that causes cracking. Thick sections dry slower than thin sections, setting up differential tension. This means hollow forms and even wall thickness matter more than with traditional clay that dries evenly before firing. Build hollow rather than solid for anything over 1 inch thick.
Work time varies by formulation but generally ranges from 30 minutes to several hours before the clay becomes too stiff to manipulate. Unlike traditional clay, you can't reliably soften air dry clay once it starts setting. Plan your work session to complete shaping before the clay stiffens. Keep unused portions wrapped tightly in plastic.
Painting and Finishing
Air dry clay accepts acrylic paint, tempera, and other water-based paints once fully cured. The porous surface means paint soaks in rather than sitting on top, so coverage may require multiple coats. Primer helps create more even coverage and brighter finished colors.
Sealing is essential for any piece that might encounter moisture. Water will gradually dissolve air dry clay. Acrylic sealers provide basic protection. For pieces that need to withstand handling, multiple thin coats of polyurethane create durable surfaces. Apply sealers in thin layers to avoid obscuring surface detail.
Limitations and Appropriate Uses
Air dry clay creates decorative objects, not functional pottery. The material lacks the strength and water resistance of fired ceramics. Don't make drinking vessels, food containers, or anything requiring durability and washability. Air dry clay excels at ornaments, sculptures, decorative pieces, and learning basic hand-building techniques before investing in firing equipment.
Initial investment runs $10-30 for enough air dry clay to complete several projects, plus basic tools (rolling pin, cutting tools, texture implements). Paint and sealer add $15-25. Total startup costs under $75 make air dry clay the most accessible entry point to three-dimensional clay work.
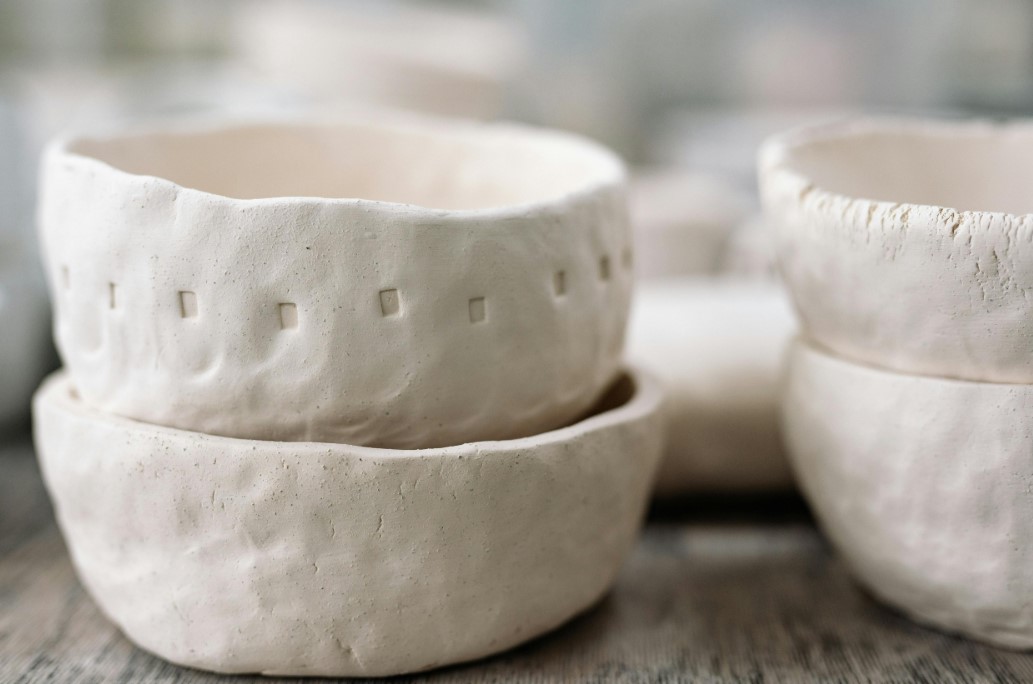
Hand Building: Foundation Techniques
Hand building creates ceramic forms without a wheel, using techniques that work with both air dry and traditional firing clays. These methods predate the potter's wheel by thousands of years and remain relevant for forms that would be difficult or impossible to throw, asymmetrical pieces, and sculptural work.
Pinch Pots: Primary Forms
Pinching forms vessels directly from a clay ball by pressing walls thin with thumb and fingers. This fundamental technique teaches clay behavior, wall thickness control, and how pressure distributes through the material. Start with a ball of clay, press your thumb into the center leaving a base, then rotate the ball while pinching walls upward and outward.
Even wall thickness matters more than perfect shape. Thin spots crack during drying or firing. Thick spots crack from uneven drying rates. Consistent thickness throughout the piece prevents both problems. Aim for 1/4 to 3/8 inch walls for functional pieces. Thinner walls work for decorative objects.
Coil Building: Structural Forms
Coiling builds walls from ropes of clay stacked and blended together. Roll clay into even coils (typically 1/2 to 3/4 inch diameter), stack them in circular or shaped forms, then blend each coil into the one below it to create structural integrity. This technique enables larger pieces than pinching and creates strength through the blending process.
Blending determines strength. Inadequately blended coils separate during drying or firing. Each coil must be thoroughly worked into the previous coil on both interior and exterior surfaces. You'll know blending is complete when no seam remains visible and the wall thickness is consistent.
Slab Building: Architectural Forms
Slab construction uses rolled flat sheets of clay joined to create vessels, boxes, and architectural forms. Roll clay to even thickness (typically 1/4 to 1/2 inch), cut shapes, then join pieces using slip (liquid clay) and scoring (scratching surfaces to increase adhesion). This technique suits angular forms, large flat surfaces, and pieces requiring precise dimensions.
Joining technique determines whether seams hold or crack apart. Both surfaces must be scored (scratched with a tool to rough the surface), then coated with slip before pressing firmly together. Reinforce joins with thin coils of clay smoothed on the interior. Inadequate joining shows up during drying when seams crack open.
Tools and Equipment
Hand building requires minimal equipment. Essential tools include a rolling pin or slab roller for even thickness, cutting tools (wire clay cutter, knife, needle tool), texture implements, and a wooden bat or canvas surface. Start with $30-50 in basic tools. Add specialized tools as specific techniques require them.
Clay choice matters more for hand building than throwing. Clays formulated for hand building contain more grog (fired clay particles) which adds tooth and reduces shrinkage and warping. These clays feel coarser but create more stable structures for large or complex hand-built forms.
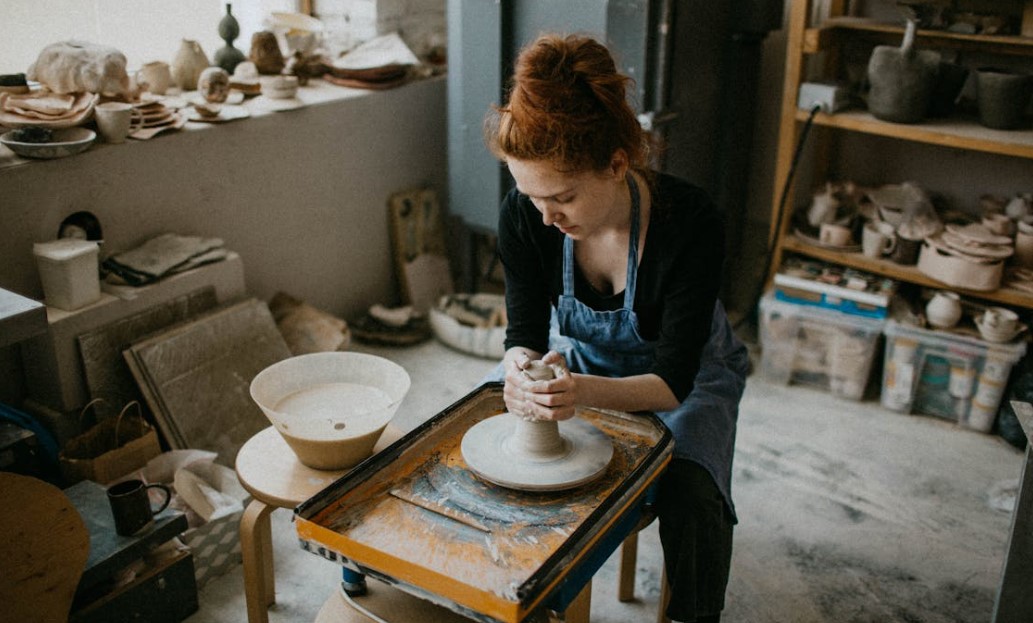
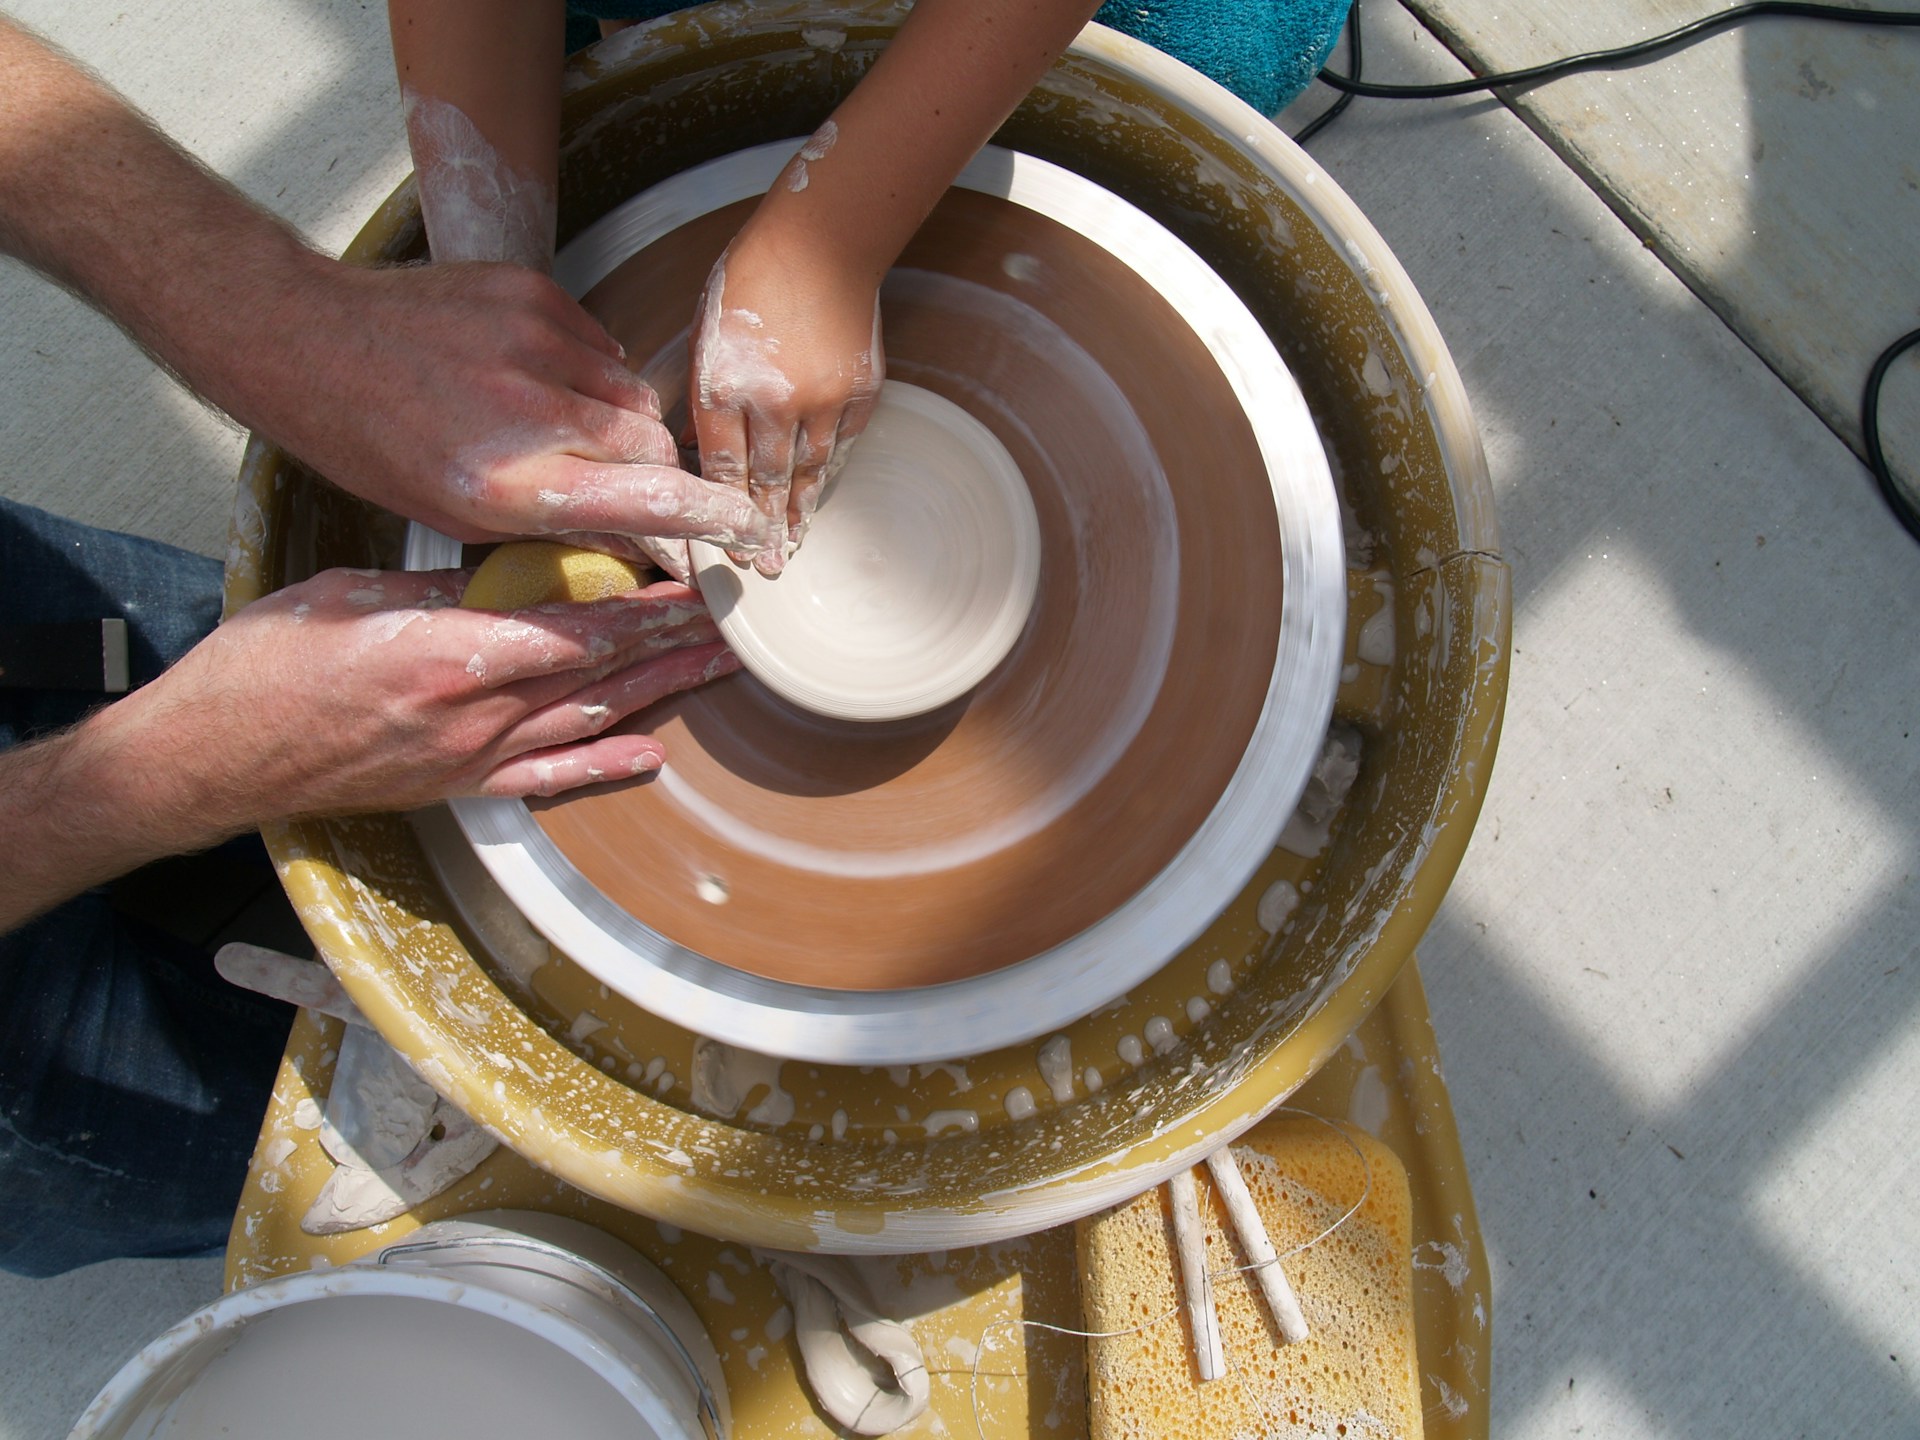
Wheel Throwing: Symmetrical Forms
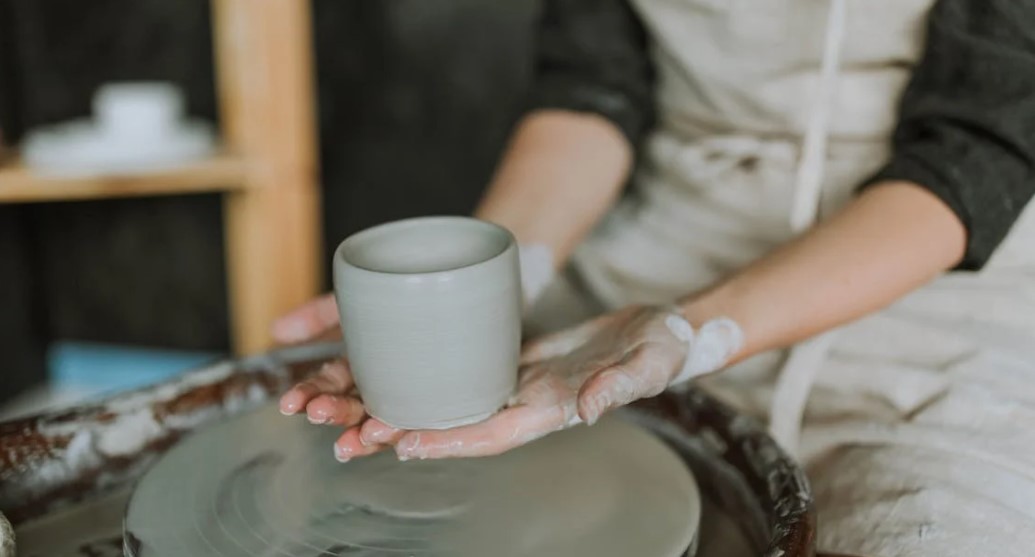
Wheel throwing creates symmetrical vessels through controlled pressure on spinning clay. The technique produces the forms most people associate with pottery: bowls, cups, plates, vases. Throwing requires more initial skill development than hand building but enables faster production once basic techniques become automatic.
The Learning Progression
Centering clay on the wheel represents the first major hurdle. Until clay spins perfectly centered, you can't raise walls. Most beginners need 10-20 hours of practice to center consistently. The motion feels counterintuitive initially. You push clay with one hand while bracing with the other, using the wheel's speed and constant pressure to force the clay into perfect rotational symmetry.
Opening (creating the interior space) and pulling walls (thinning and raising them) follow centering. These techniques build on each other. Poor centering makes opening difficult. Uneven opening creates walls that fight you. Each stage depends on the previous stage being done correctly. This sequential dependency means early mistakes compound as you work.
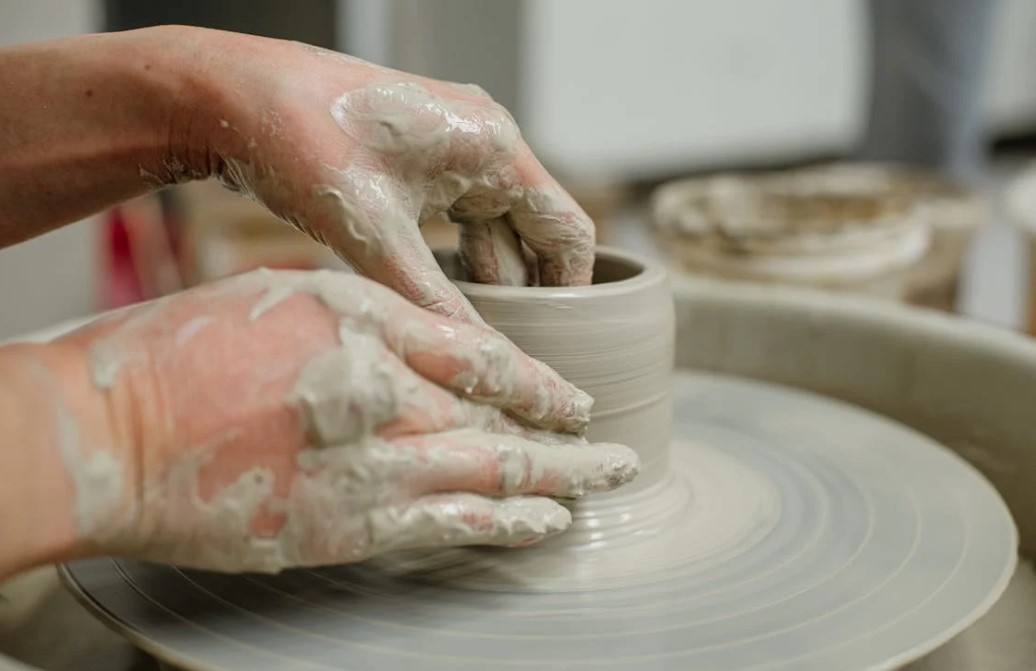
Centering
Applying pressure while the wheel spins forces clay into perfect rotational symmetry. Keep hands steady, let the wheel do the work. Most difficult skill to learn, typically requires 10-20 hours of practice for consistency.
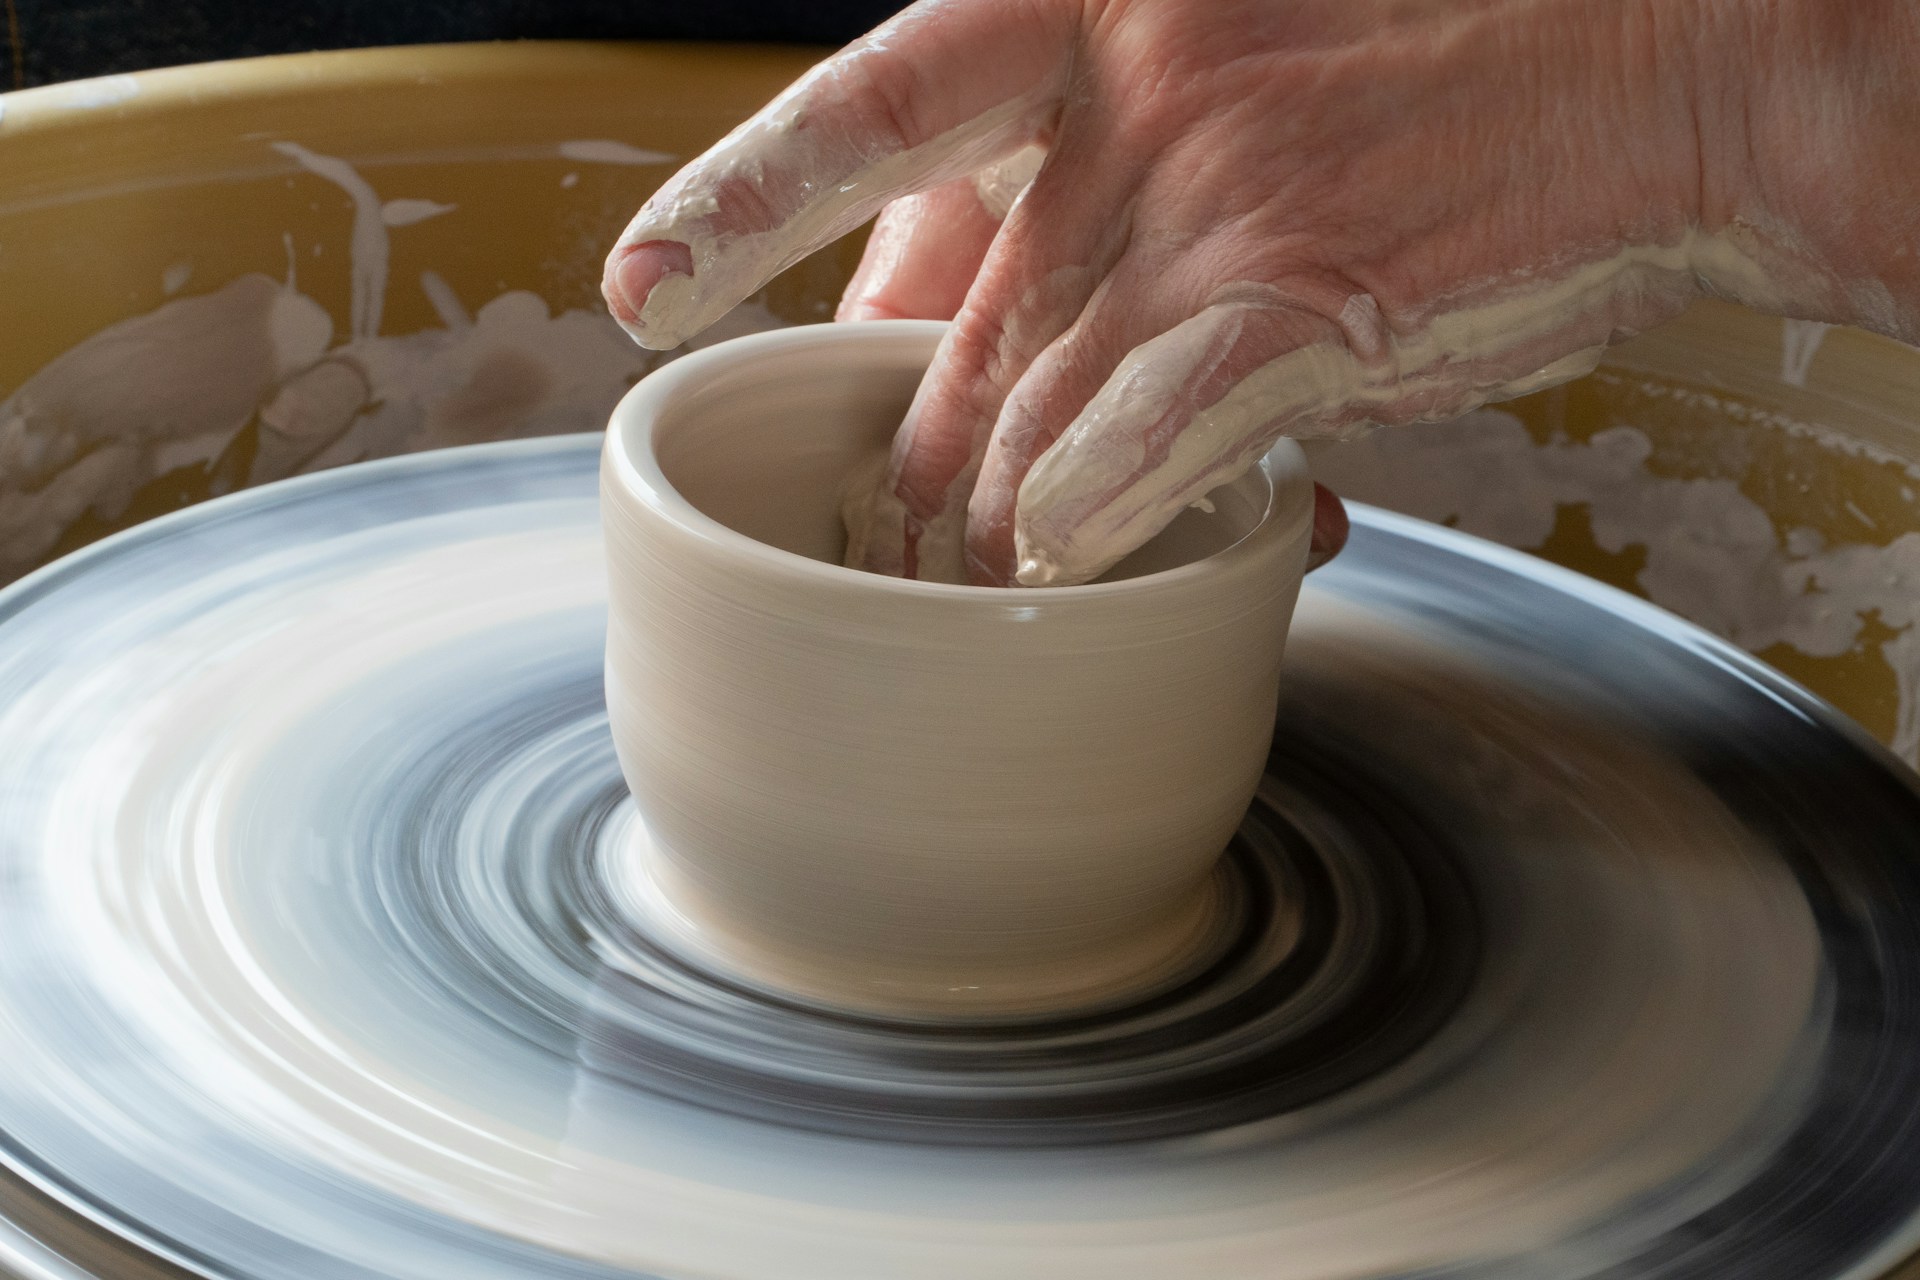
Opening
Press down into centered clay to create the interior cavity. Go too deep and you'll cut through the bottom. Stop too shallow and you waste clay and create thick-bottomed pieces. Leave 1/4 to 3/8 inch for the base.
Pulling Walls
Compress clay between interior and exterior fingers while pulling upward. Each pull thins and raises walls. Too much pressure tears clay. Too little pressure creates thick walls. Even pressure throughout each pull maintains consistent wall thickness.
Shaping
Manipulate pulled walls into final form: pushing out for bowls, pulling in for closed forms, maintaining cylinder for straight walls. Shape while clay has enough water to move but enough stiffness to hold form.
Equipment Requirements
| Equipment | Entry Level | Mid-Range | Professional |
|---|---|---|---|
| Wheel | $300-500 (tabletop) | $800-1200 (full-size) | $1500-3000 (production) |
| Kiln Access | Studio rental ($15-30/firing) | Small kiln ($800-1500) | Large kiln ($3000-8000) |
| Tools | $50-100 (basic set) | $150-250 (complete) | $300-500 (specialized) |
| Space Required | 4'x4' minimum | 6'x8' comfortable | Dedicated studio room |
Clay Bodies for Throwing
Throwing clays need plasticity (ability to stretch without cracking) and smooth texture. Groggy clays that work well for hand building resist centering and create rough surfaces. Standard throwing clay ranges from smooth porcelain (most refined, most challenging) to smooth stoneware (moderate refinement, reliable) to earthenware (softer, easier for beginners).
Porcelain throws beautifully once you have solid skills but magnifies every mistake while learning. It's slippery when wet, prone to collapse, and unforgiving of uneven pressure. Start with mid-range stoneware. These clays have enough tooth to grip without being coarse, enough plasticity to tolerate learning mistakes, and fire to durable finished ware.
Time Investment Reality
Learning to throw basic cylinders and bowls requires 3-6 months of regular practice (2-3 sessions weekly). Achieving consistency for production work takes 1-2 years. Professional-level speed and skill development typically requires 3-5 years of continuous practice. This isn't quick-gratification crafting.
Each throwing session generates pieces that need time to dry (1-2 weeks), bisque firing (8-12 hours plus cooling), glazing, and glaze firing (8-12 hours plus cooling). Expect 3-4 weeks minimum from throwing to finished piece. This extended timeline means you need space to store work in progress and patience to wait for results.
Related Guides
Learning to Throw Pottery
Centering clay, pulling walls, and controlling symmetry on the potter's wheel.
Pottery Wheels Under $500 vs Professional Models
What you actually get when you spend more on a pottery wheel, and where budget models fall short.
Potter's Wheel Equipment: Studio Access vs Home Setup
The equipment decision for wheel throwing splits between community studio membership and home setup investment.
How Production Potters Throw 40+ Pieces Per Day
The progression from hobbyist to production speed takes 3-5 years of consistent daily practice.
Tabletop vs Full-Size Pottery Wheels
Understanding the tradeoffs between portable tabletop wheels and full-size studio models.
Hand Building Clay Techniques
Pinch, coil, and slab techniques that work with both air dry and firing clay.